Night

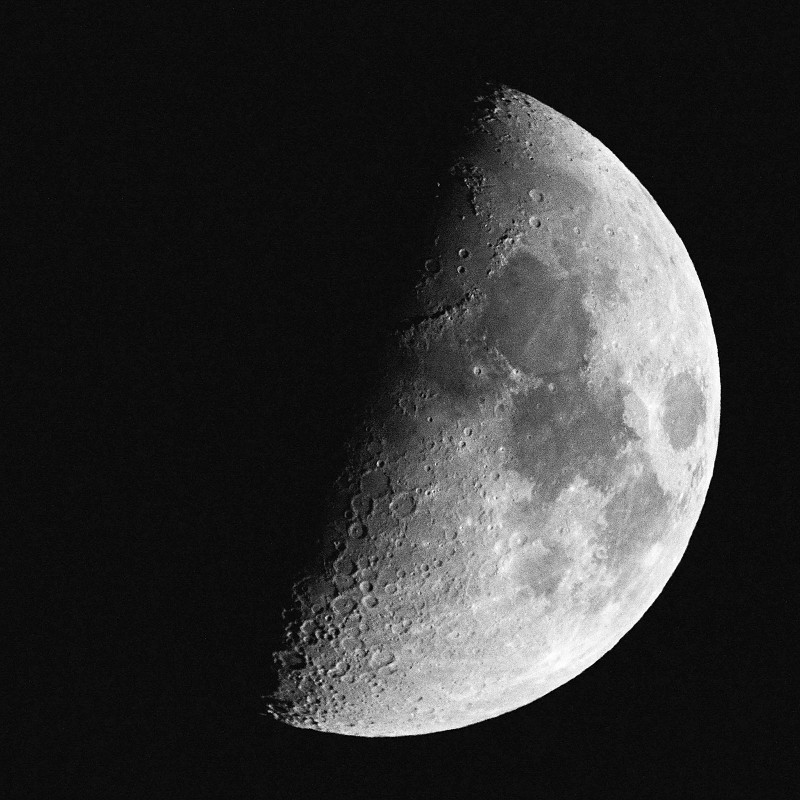
First Quarter Moon 54% of Full

0 comments

Last night, I connected the DSLR directly to the telescope. Skipped the extension-tube-like part of the Orion variable universal camera adapter. I also took all my photos with the mirror up. Right now, I think the limiting factor is the StarSeeker III mount and tripod. My usual process is to view an object on Live View and manually focus with the magnification cranked up.

However, the mount and tripod is not stable enough at these magnifications. Every time I touch the focus dial on the telescope, the image shakes. I can get the focus close enough, but there is no way to be 100% spot on.

I also experimented with different ISO values. Dropping down to ISO 800 didn’t give me a cleaner image. Since the moon travels quite a bit, I went as fast as 1/2,000s to see if that helps. All the images were underexposed, and I had to tinker around in Photoshop to recover some of the details.
first-quarter_9907

D800, ISO 1250, 1/2000s, Orion StarSeeker III 127mm GoTo Mak-Cass Telescope
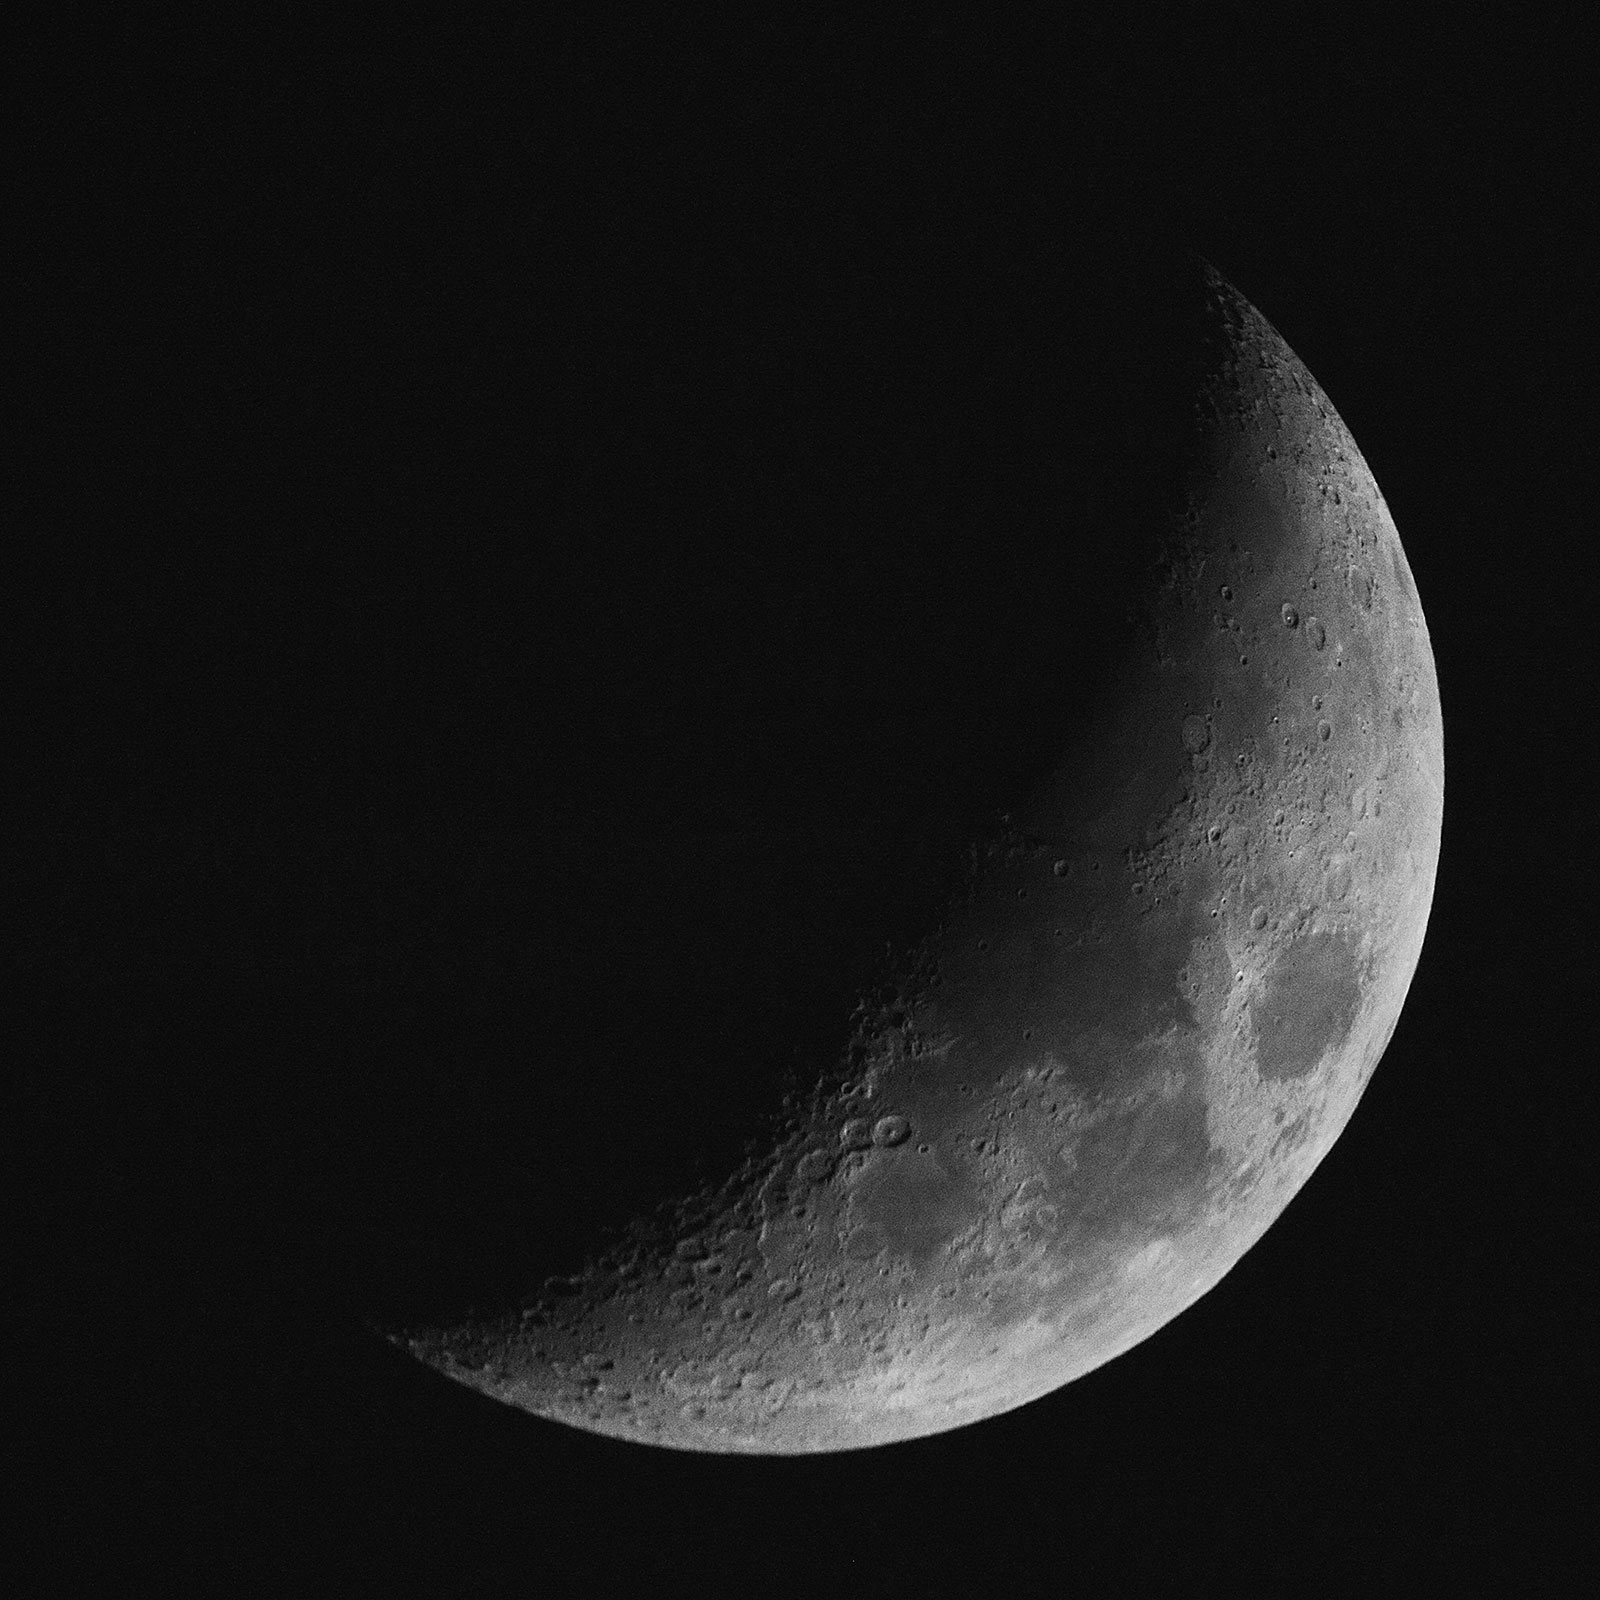
Waxing Crescent Moon 39% of Full

0 comments

In the middle of last night’s session, I lost control of the telescope mount. The hand controller kept displaying “No link to mount stand alone mode.” So, I brought my telescope indoors and consulted Google. While Google did not produce the exact answer, it did point me in the correct direction.

My best guess is that the batteries had enough charge to power the controller, but not the motor. Fortunately, I had an AC-to-DC Adapter. When I plugged the adapter to the mount, the controller was fully functional again.

So, I removed all eight AA batteries and tested each one. All were good except for one, which was 100% dead. Could not even budge the needle. So, that problem was fixed, but not without some pointless diagnostics involved where I plugged and unplugged the controller multiple times to see if it would reset on its own. A simple low battery warning could have saved me a lot of time instead of the “No link to mount” error message which suggested some problem with the connection between the hand controller and the mount.

Waxing Crescent Moon

Nikon D800, ISO 2500, 1/1,250s, Orion StarSeeker III 127mm GoTo Mak-Cass Telescope
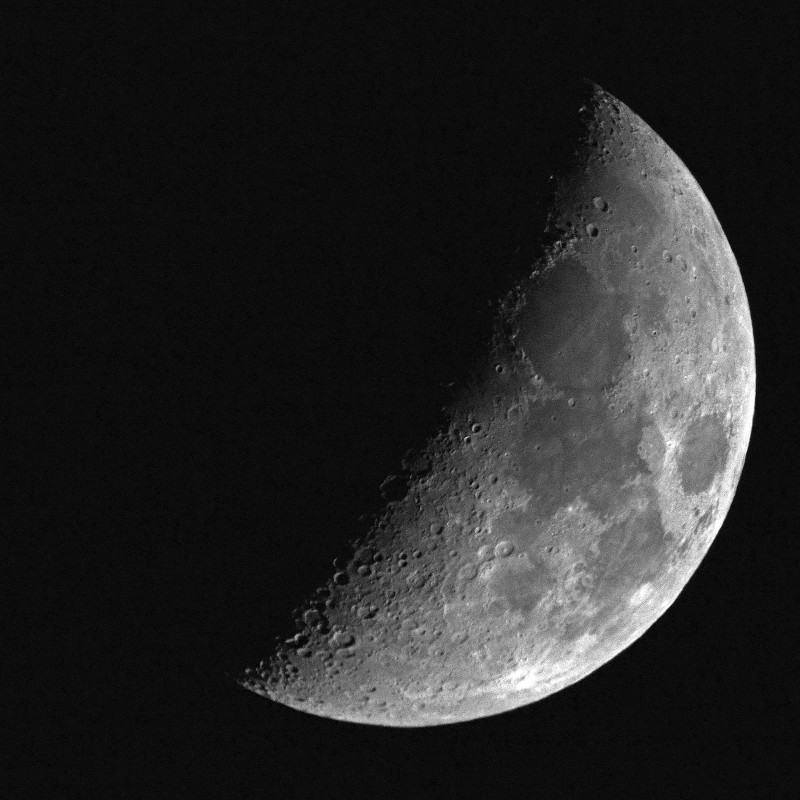
Waxing Crescent Moon 35% of Full

0 comments

Last year, I had taken a series of waxing crescent moon photos with a camera lens. Taking a photo with a camera lens is so much easier because I can adjust ISO, aperture and shutter speed.

With a telescope, the amount of detail that can be captured is absolutely astounding. But, I lose the aperture control, and am limited to adjusting exposure by ISO and shutter speed. At high magnifications, I really need a fast shutter speed because the moon is moving fast. This one ended up a touch grainy.

Waxing Crescent Moon

Nikon D800, ISO 2000, 1/1,000s, Orion StarSeeker III 127mm GoTo Mak-Cass Telescope
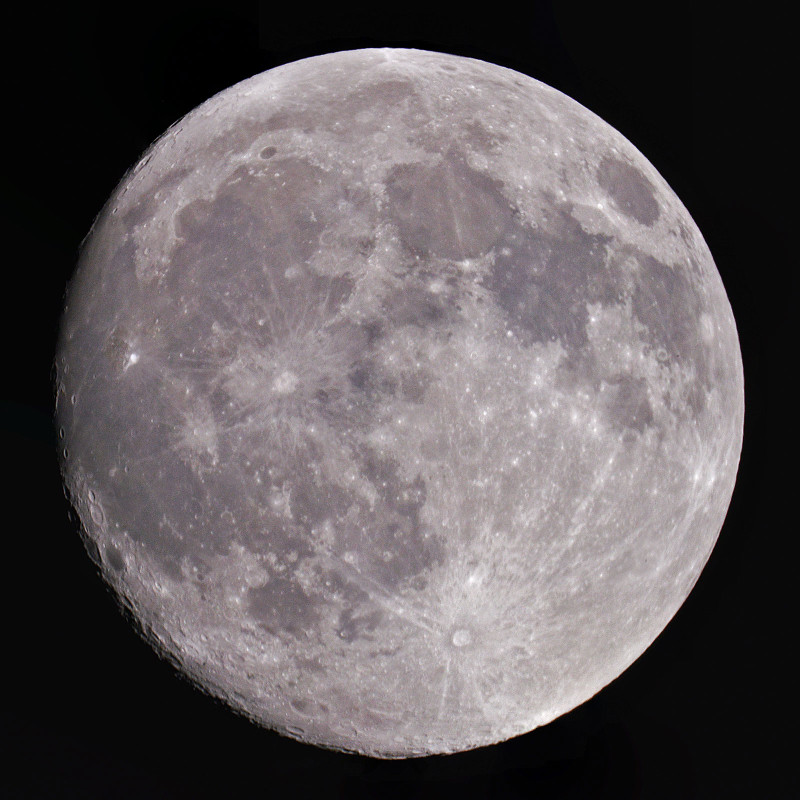
Waxing Gibbous Moon, 97% of Full

0 comments

Another view of a waxing gibbous moon through the telescope. This is a blend of three different photos, and I tried to focus on a different part of the moon per photo. However, at close to full moon, the moon was a bit flat and I had a difficult time seeing the craters. The other problem I encountered is that the bundled tripod was not sufficiently stable, so any time I touched the focusing dial, the image was jittery for a few seconds.

Waxing Gibbous Moon

Nikon D800, ISO 800, 1/800s and Orion StarSeeker III 127mm GoTo Mak-Cass Telescope
Waxing Gibbous Moon, 79% of Full

0 comments

I’ve had the Orion StarSeeker III 127mm GoTo Mak-Cass Telescope for one week now. This was the first telescope I have ever owned, so I am far from proficient. But, with a few days of practice, I now have a better sense of all the controls.
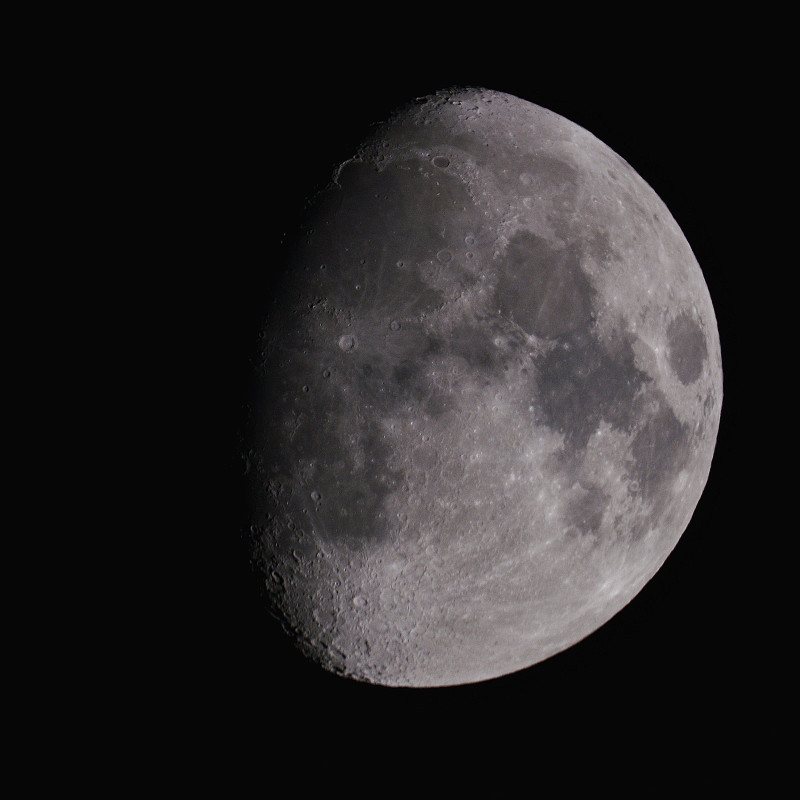
At first, I did not align the EZ Finder with an object 1/4 mile away (as suggested in the instruction manual). I just picked a tall tree across the street, but that was insufficient. Tonight, I centered Saturn in the eyepiece and discovered that the EZ Finder was a bit off. After some calibration, the telescope is a lot more precise.

The Variable Universal Camera Adapter and T-Ring did not come with instructions. I found a PDF manual for the camera adapter online. It doesn’t give enough instruction, and I had to learn a bit via the Internet. Attaching the camera directly to the telescope instead of through the diagonal made a big difference. The set-up seemed a bit more stable. Fully extending the Variable Universal Camera Adapter increases the magnification, which allows for more precise focus. But, the moon was traveling too quickly.

Unlike using a camera lens, a telescope lens has no aperture adjustment. The only controls are ISO and shutter speed. So, to minimize motion blur, I increased the ISO and shutter speed. This combination produced better results.

moon_8525

Nikon D800, ISO 800, 1/800s + Orion StarSeeker III 127mm GoTo Mak-Cass Telescope
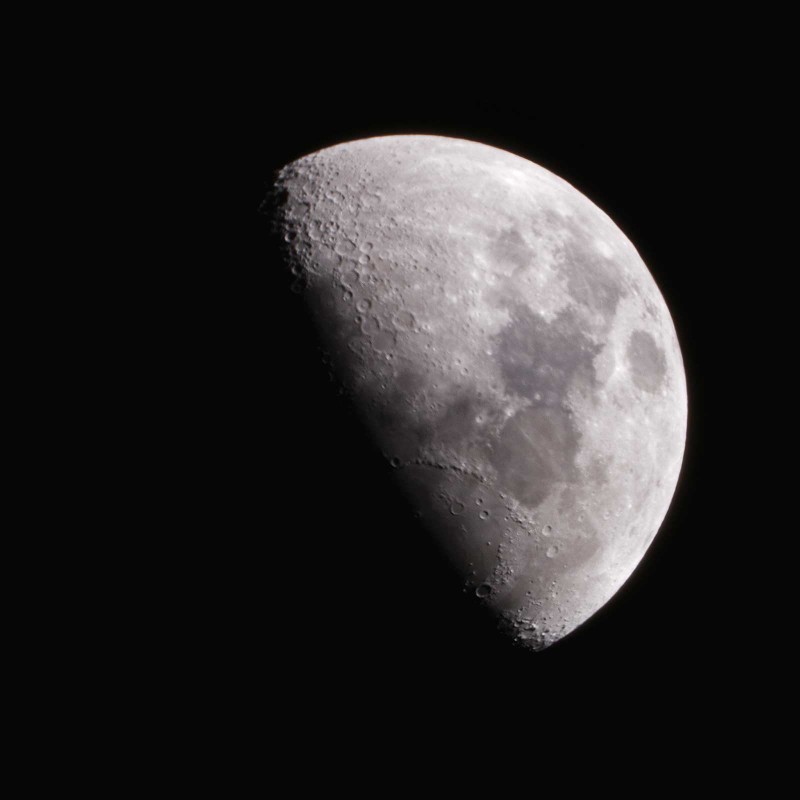
First Quarter Moon

1 comment

First attempt. It wasn’t as easy as I thought it would be. I am used to manually focusing and adjusting exposure on Live View, but with a T-ring on the camera, I was stuck with an absolutely manual process. Since the telescope was not reporting aperture to the camera, I had to adjust the shutter speed after each photo. No exposure feedback through Live View.

Also, the photo was not as sharp as I expected. Maybe I need to focus on multiple points and do some focus stacking.

Clear Dark Sky is tremendously helpful. Yesterday night was clear, and I saw Saturn for the first time. Tonight is cloudy, but I can look forward to Friday night when it will be clear again.

moon_7967

Nikon D800, Orion StarSeeker III 127mm GoTo Mak-Cass Telescope, ISO 100, 1/20s

Hoover Tower at Dusk

0 comments

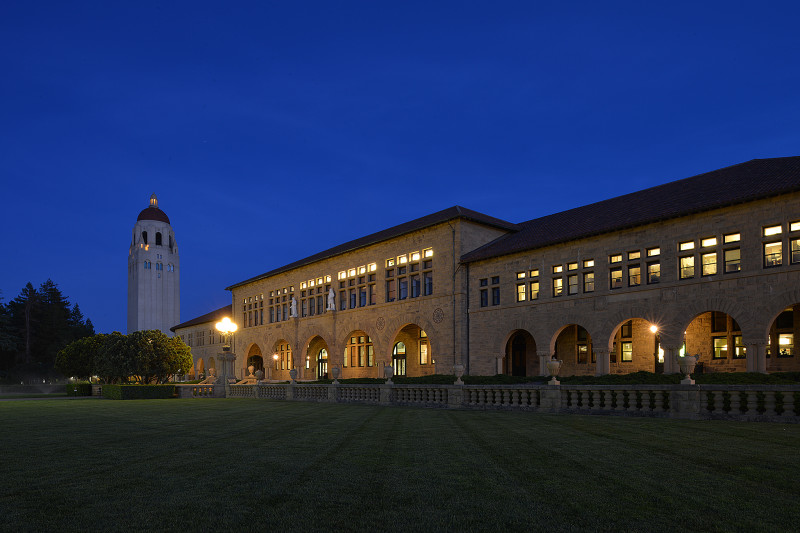
The Stanford Quad and Hoover Tower at dusk.

Hoover Tower

Nikon D800, PC-E Nikkor 24mm f/3.5D ED, ISO 100, 24mm, 0 EV, f/16, 30.0s

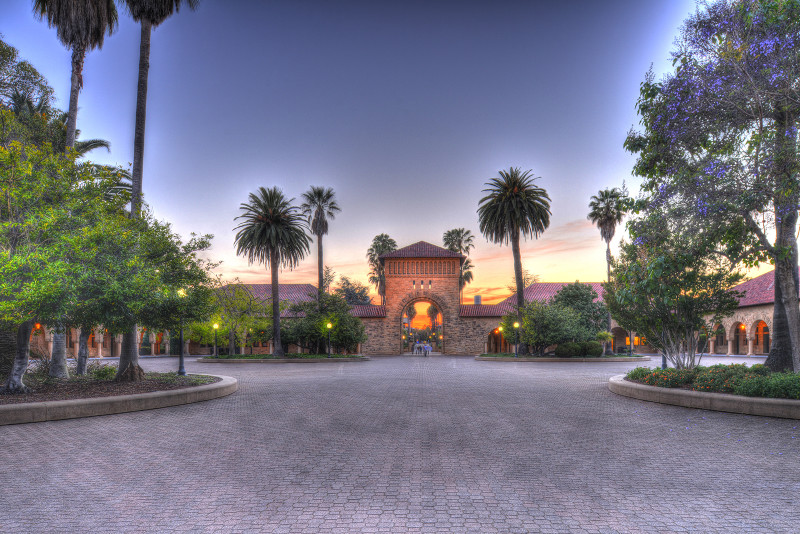
I had arrived quite a bit earlier in the evening to see if I could catch Memorial Church at sunset. The skies had a few wispy clouds, and I was hoping that the sun would light them up. Unfortunately, Memorial Church faces north, and the sun sets to the east. So I ended up with this sunset photo instead.

sunset_7737_38_39_40_42_tonemapped

Stanford University

0 comments

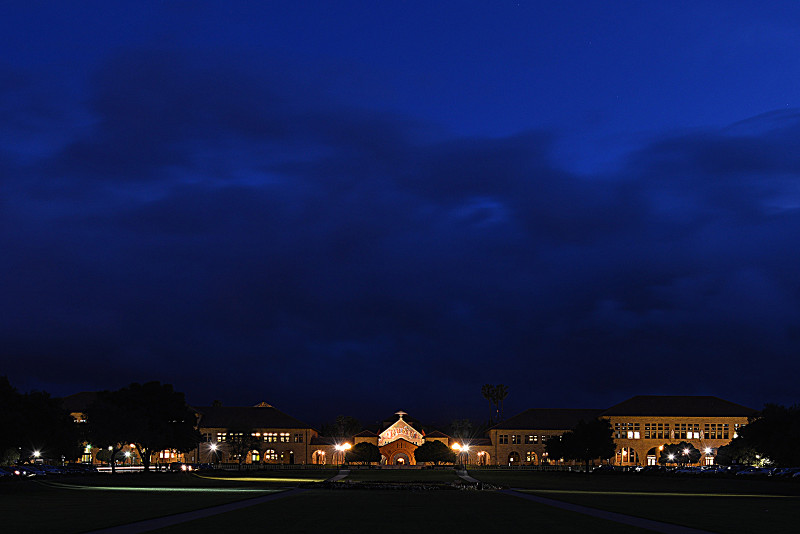
Still a touch of blue in the sky.

Stanford University at Dusk

Nikon D800, PC-E Nikkor 24mm f/3.5D ED, ISO 100, 24mm, -2 EV, f/8, 6.0s

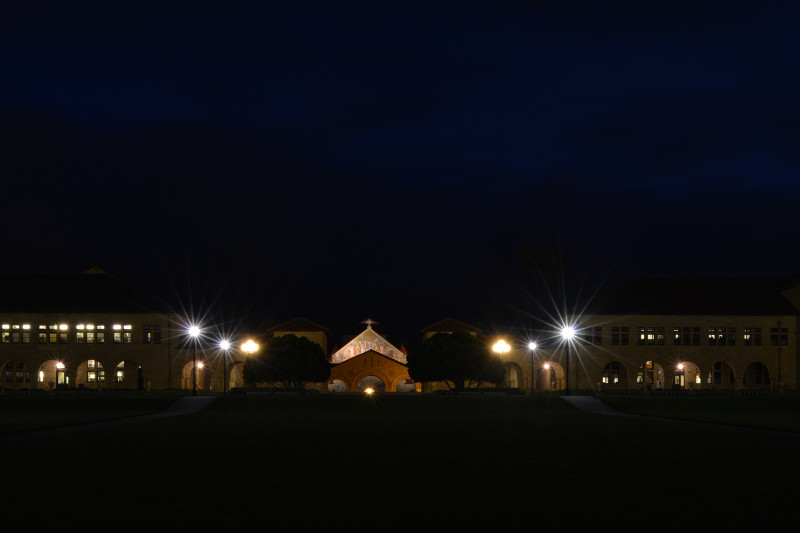
10 minutes later, pitch black.

Stanford University

Nikon D800, PC-E Nikkor 24mm f/3.5D ED, ISO 100, 24mm, 0 EV, f/16, 20.0s

It was raining and overcast the entire day. Not the right conditions for a blazing evening sunset, but one of these days, I’ll get it.

Nikon PC-E 24mm Lens at Night

0 comments

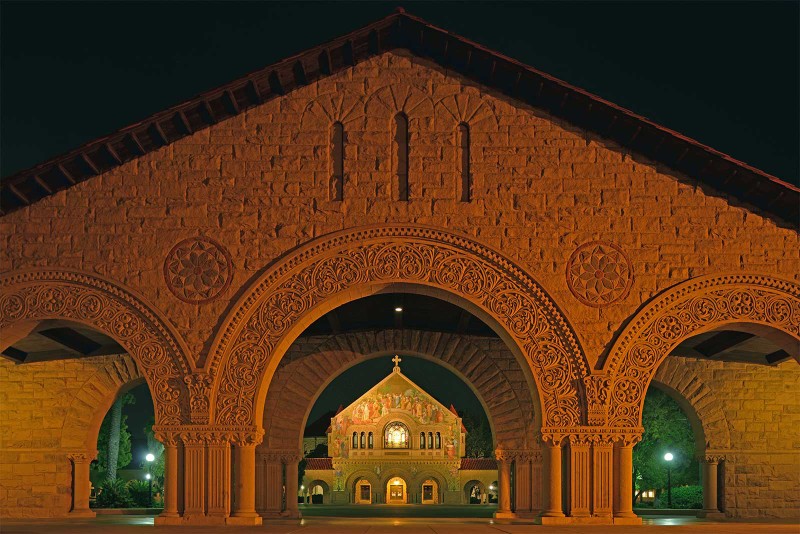
I returned to Stanford University to view the blood moon and recreate this photo at night. Fortunately, the Quad was pretty much empty when I arrived.

With a 24mm lens, I knew that I had to move further back to capture the roof lines from the front arch. However, I also had to crouch low to keep the entire front face of Memorial Church visible. I think I only had one section of each tripod leg extended. I do wish I had some more separation between the cross and the arch. I guess that will have to happen during a return visit.

memorial_church_6957

Nikon D800, PC-E Nikkor 24mm f/3.5D ED, ISO 100, 24mm, -2 EV, f/3.5, 1.0s

Blood Moon Lunar Eclipse

1 comment

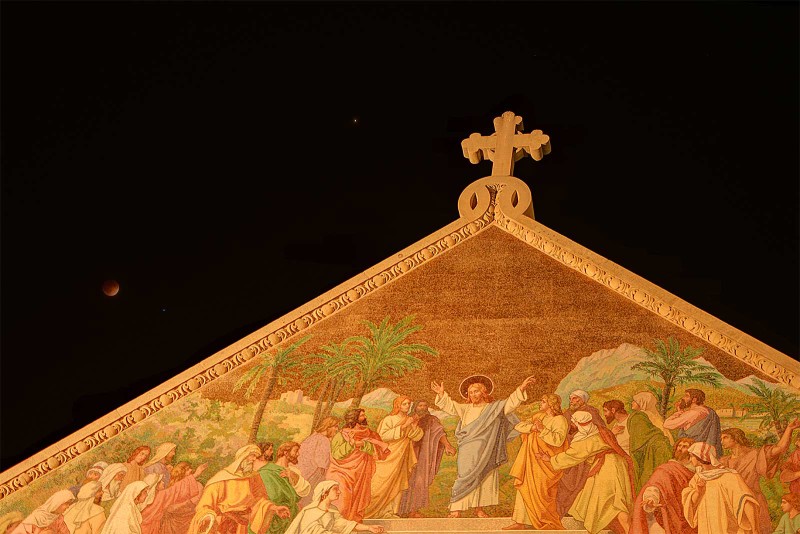
When I stepped outside earlier this evening, I thought the night would be one filled with disappointment. I looked around the sky and easily located the moon. But, it was obscured by clouds. Still, I headed out to Stanford University. Just in case the sky did not clear up, I could still practice some night photography.

I wandered around the campus and returned to Memorial Church as the eclipse began. Fortunately, the sky cleared up in time. I experimented with focus stacking for the first time (i.e., focus on the church, focus on the moon, and blend in Photoshop).

The bright dot by the cross is Mars.

Blood Moon Lunar Eclipse

Nikon D800, AF-S Nikkor 70-200mm f/2.8G ED VR II, ISO 100, 75mm, f/2.8

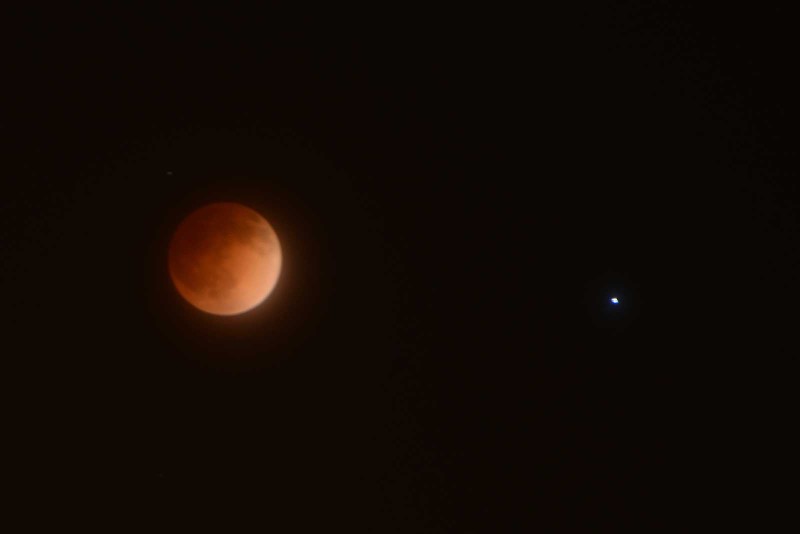
Here’s a close-up of the blood moon.

blood-moon_7079

Nikon D800, AF-S Nikkor 70-200mm f/2.8G ED VR II, ISO 100, 200mm, f/2.8, 3.0s

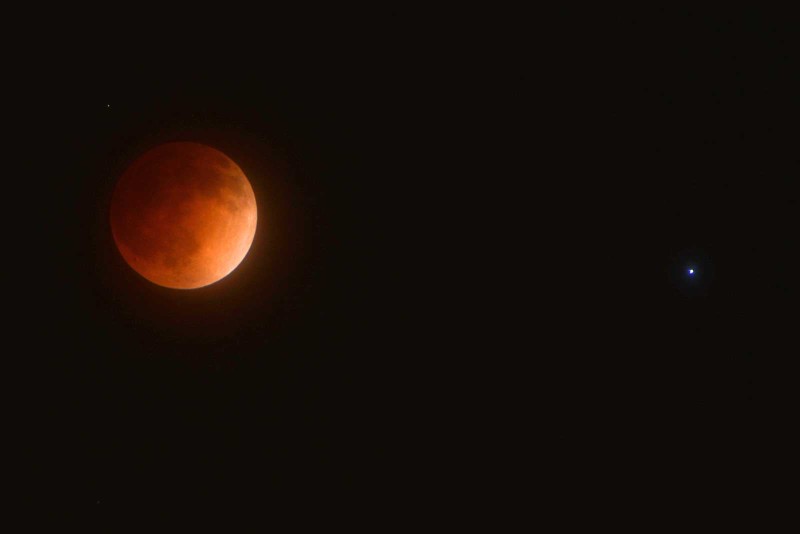
I had posted the above image at first because it was brighter. But, this earlier photo is a lot sharper, although I had to adjust the shadows in Photoshop. Maybe there was some motion blur since it was a 3 second exposure.

blood-moon_7074

Nikon D800, AF-S Nikkor 70-200mm f/2.8G ED VR II, ISO 100, 200mm, f/2.8, 1.0s